Trees

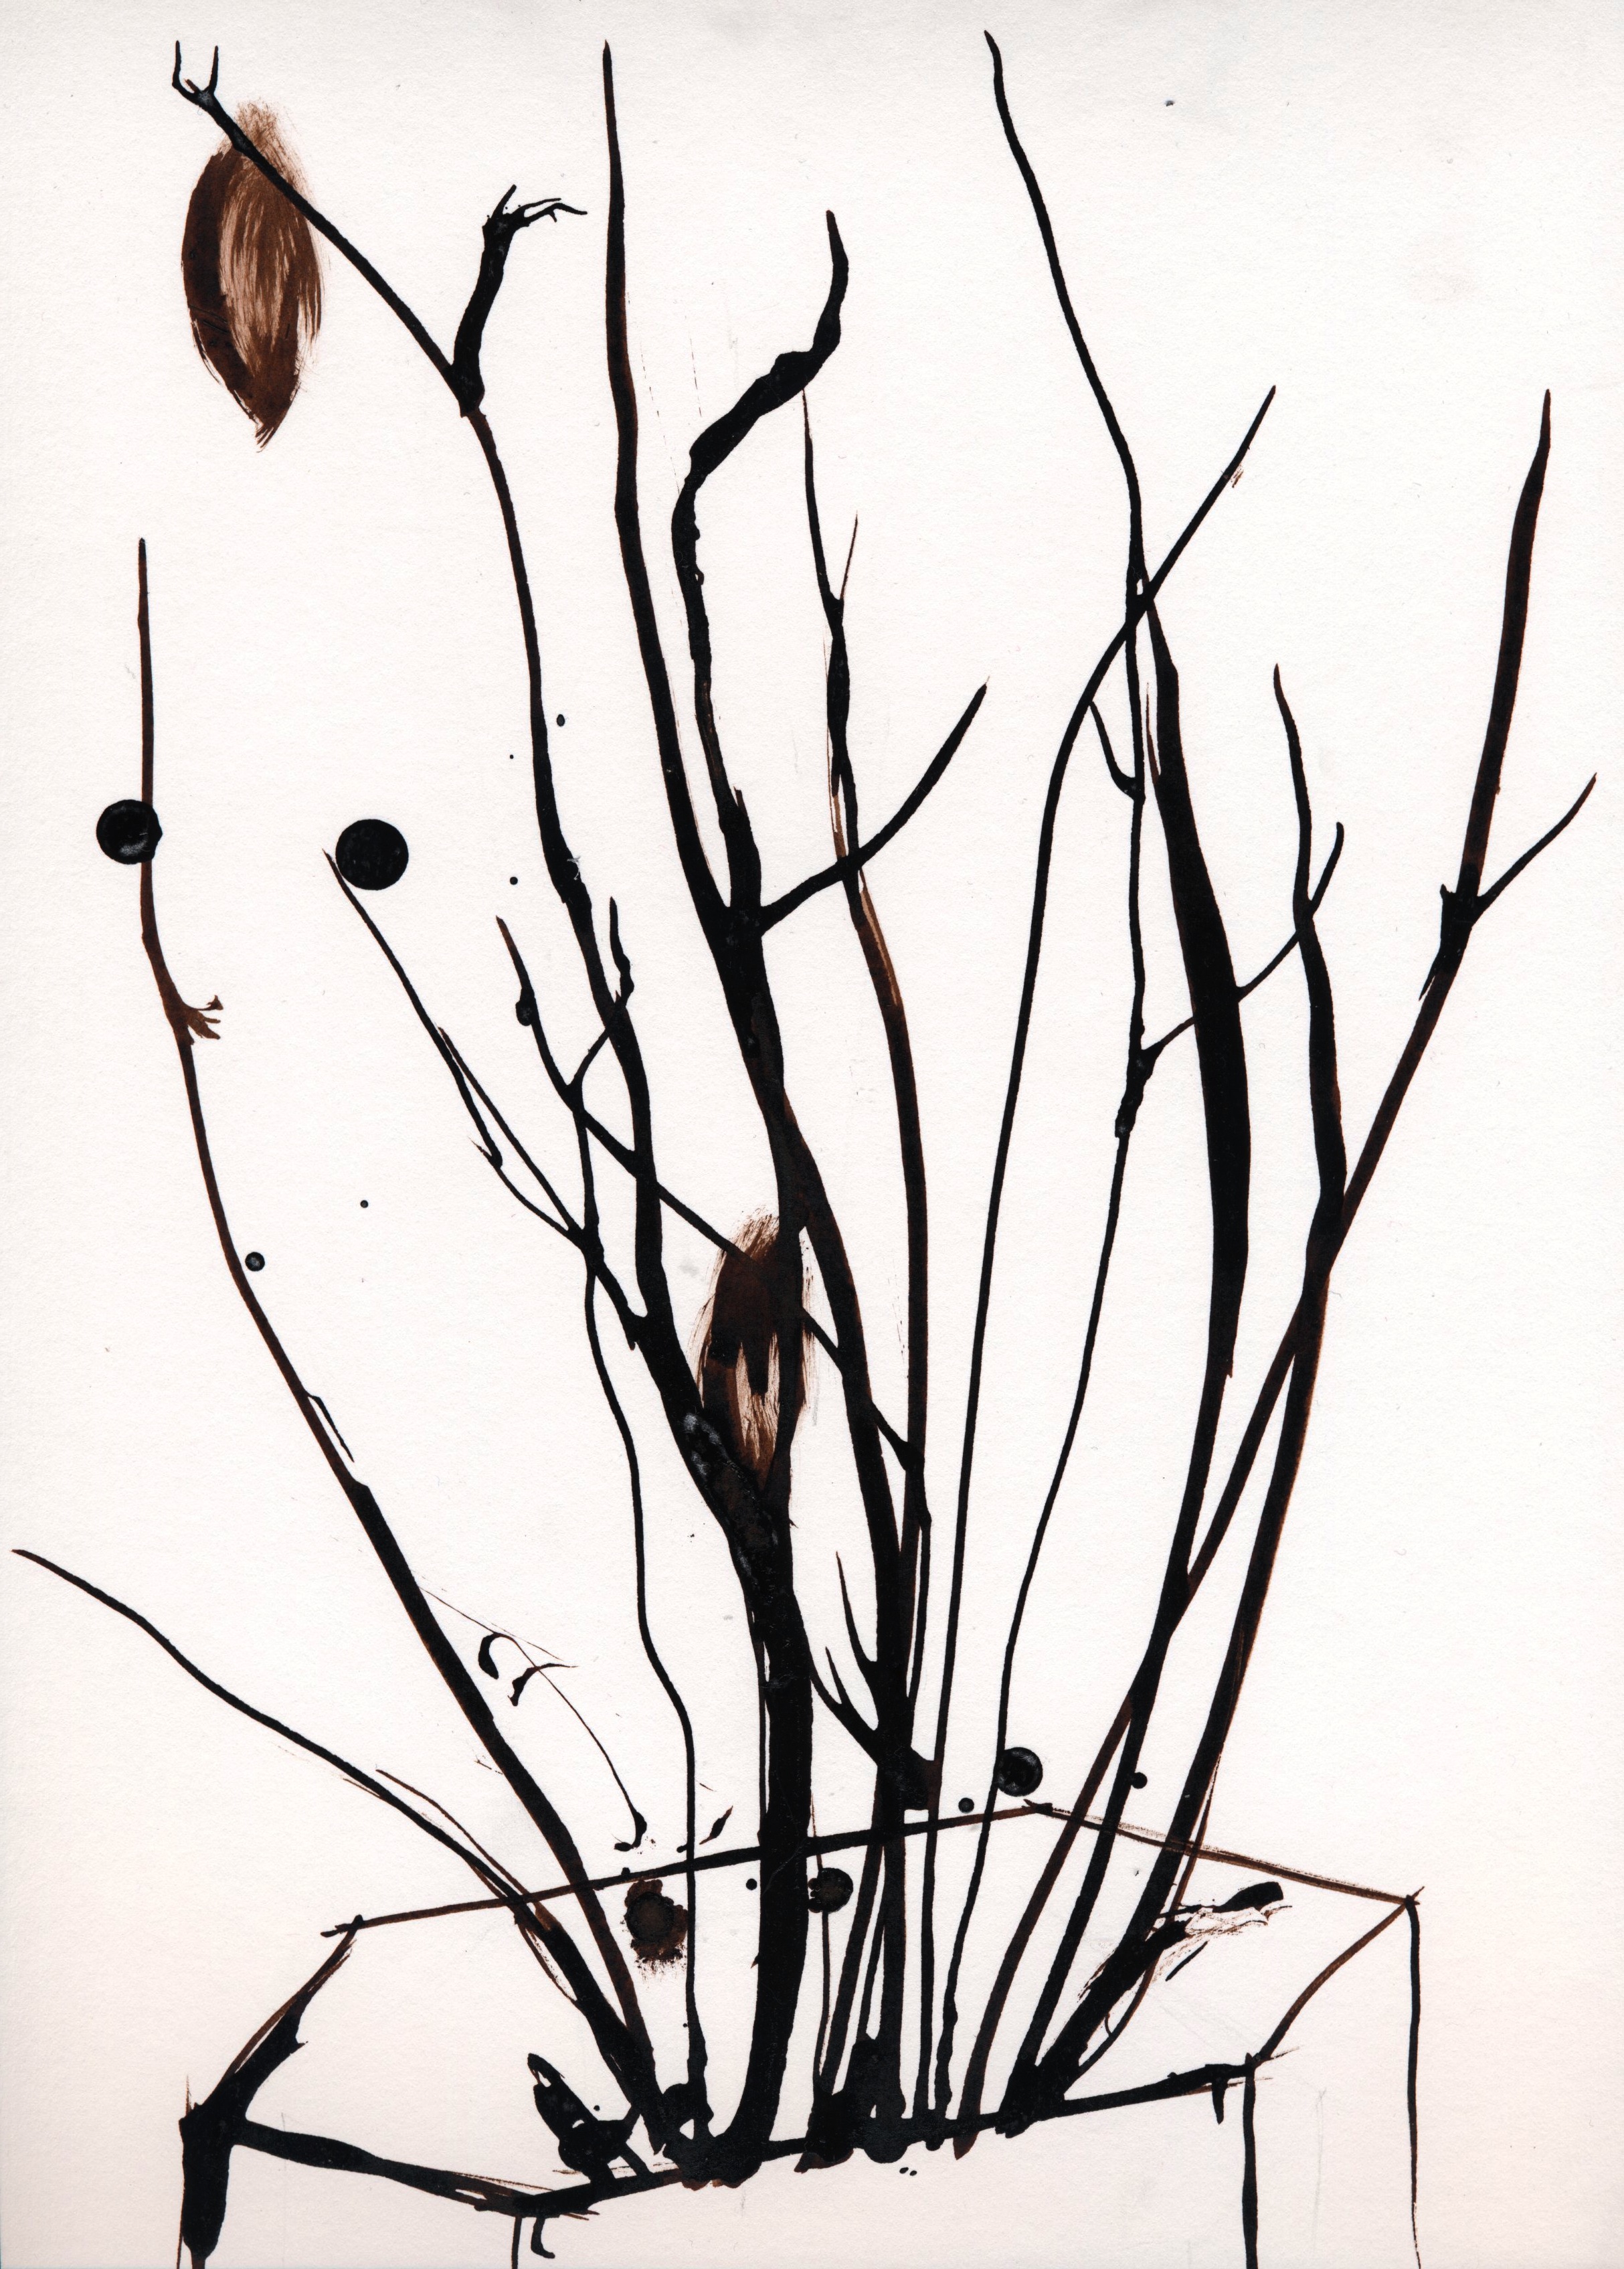
I have drawn three different trees in three different medias.

I have used pencil, charcoal and ink to capture different characteristics of the trees (the trees were not completely bare of leaves I just find the branches much more interesting).

Pencil shows the complexity of the branches,Tree in pencilCharcoal emphasises the texture of the barkTree in Charcoaland using ink was a fantastic way to capture how the tree has grown due to the wind.Tree in ink

Dead Plant

It’s almost time.
A week Monday I will be starting as a student at Hereford College of Arts. Scary!

Having said that I have already moved in to my house in Hereford and met two of the other students I will be living with. I spent a few days there recently and really enjoyed. I will be going back on the 26th giving me a few days to settle in again before starting my course.

Before starting the course we have been asked to fill a sketchbook, drawing from life and experimenting in different medias.

I have a particular liking for ink.
Dead plant

Intersecting Lines

I was just about to do a post with some of my new work but I then realised I’d had these images here ready just waiting, for ages, to be posted.

So you’ll just have to wait another day or two to see what I’ve been up to recently.

This is another piece I did during my final project, Industrial and Urban Landscapes, on my Foundation Art course.
IMG_7939IMG_7949IMG_7948IMG_7947IMG_7946IMG_7952

Industrial Shapes

I’ve been meaning to post these for ages!!
I’d have liked to have taken better photos but I’d never put up photos if I stuck to that.

These are stackable rings I made for my last project on my Silversmithing course.
I did them as part of my final Foundation Art project – Industrial and Urban Landscapes.
They are based on the shapes of the industrial buildings and machinery at Port Talbot Steel Works.
IMG_7907IMG_7917IMG_7923IMG_7933

Exhibition

Last night, the private view of the exhibition, went great! The turn out was really good and everyone’s work looked fantastic!
I’m so pleased with mine, this is my display:IMG_8092And here are some of the photos of my final jewellery pieces:IMG_7514-EditIMG_7535-EditIMG_7529-EditDSC_0376DSC_0417-EditIMG_7590I even went to the exhibition wearing this piece!DSC_0426-Edit(Model: Sarah Jenkins and Studio Assistant and Supporting Photographer: Andrew James Rees)

Relieved

I am relieved to tell you my exhibition display is up!
Today has been a busy day but the exhibition is pretty much ready so it was totally worth it. Everyone’s work looked fantastic!

I am also pleased to say that a photo of my petri dishes, from a previous project, was chosen to be used in one of the posters for the exhibition.964374_10151504389054440_15774574_oThese are the other posters, with images of other students work.966803_10151504395279440_485310552_o978020_10151504376294440_1983701210_o981329_10151504381144440_1842727004_oThe exhibition is at the Grand Theatre in Swansea and will be open for anyone to see from tomorrow until Monday. The Private view is on Thursday at 6:30. Feel free to come  and see the work.

Preserved

The rest of my crystal resin pieces finally set! Too late to be made into jewellery and photographed on the model but not too late for the exhibition!IMG_7833IMG_7834IMG_7797IMG_7788
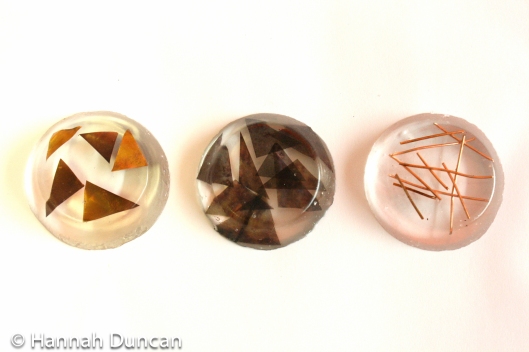
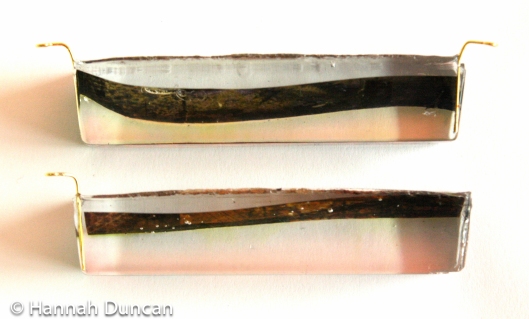
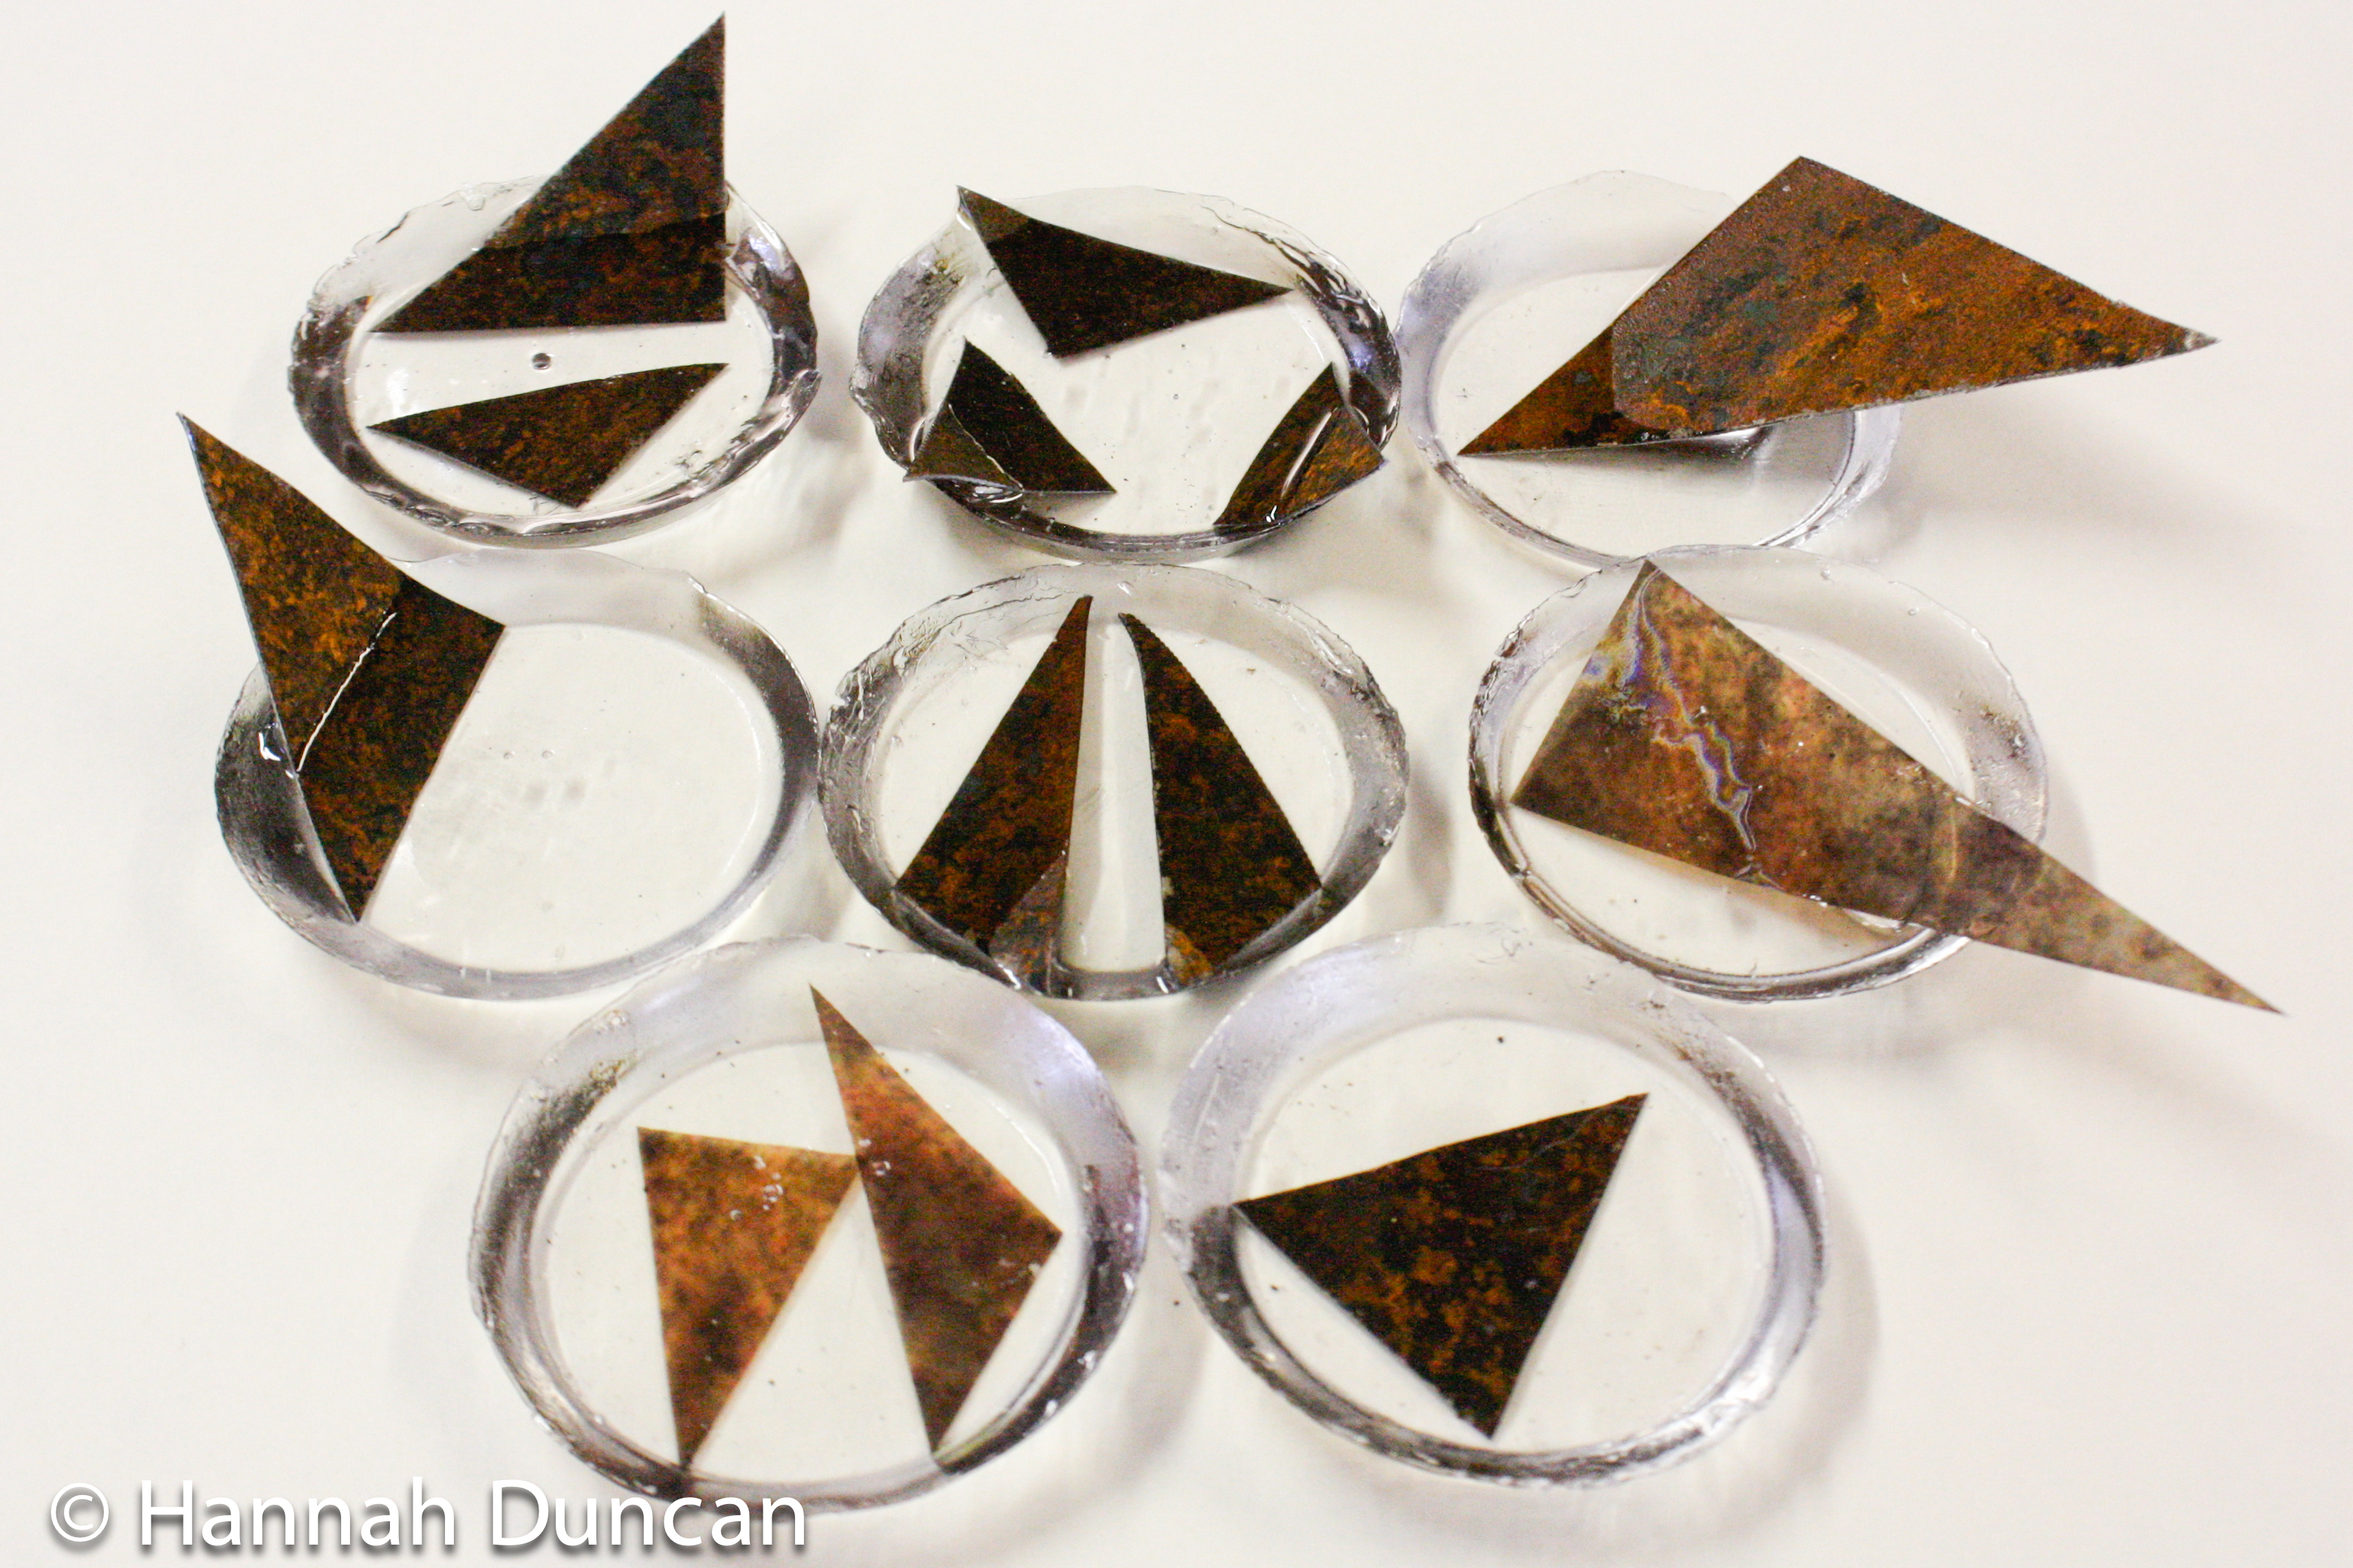
These are sections of my edited images of the rust and Port Talbot Steel Works printed on acetate and preserved in clear crystal resin:IMG_7794IMG_7828IMG_7784IMG_7824

Create in Acetate

As I was already worried about how my resin pieces were going to turn out and I was having to wait for them to set I decided to do some more work with acetate.
I’m very glad I did now!
IMG_7475These pieces are made from more acetate that I printed my coloured photos of the rusty metal onto. This time though I used aluminium tape on the back. The aluminium tape is nowhere near as nice or as strong, by itself, as the copper tape but it worked very well on the back of the acetate, especially against the blue. IMG_7477My idea for these pieces came from discovering Stephanie Hopkins‘ work. Beautiful!
IMG_7478I did try this idea with the rusty metal itself but it was simply too tough and didn’t work.IMG_7481I have now made these pieces and more acetate creations into jewellery which you will be able to see once the exhibition goes up. I’m not going to spoil the surprise!

Unpredictable

I have actually already photographed some of my final pieces for this project but I’m trying to get this blog up to date. I have been soooo busy! I’ve been making jewellery, researching, planning and house hunting whilst still trying to have a social life!

So, to bring you a bit more up to date with my project I have been doing a lot of work with clear crystal resin.

These first pieces are actually test pieces I made in wax glass with pieces of the rusty metal set inside.
IMG_7357It’s not as clear or as pretty as crystal resin and it’s not very strong but it still worked very well and was great to photograph.IMG_7363IMG_7352IMG_7347This was a great way to do test pieces because it is so much faster! Crystal resin “can take up to 7 days to cure”.

These are the first pieces I made with the crystal resin. I am really pleased with them and I have made them into brooches and pendants. IMG_7370IMG_7372This encouraged me to make more…

…And that’s where my problems began.

My first mistake was buying Sili-put, (Silicone putty) to make moulds so my resin pieces could be in more interesting shapes.
(If you ever want to make a mould out of silicone putty, trust me on this, buy Gedeo Siligum NOT Sili-put! It is just nowhere near as good!)

My second mistake was believing my lecturer when she told me that the crystal resin would take up to 7 days to cure.

I am still waiting for these to set properly and they were supposed to be ready for the photo shoot of my jewellery yesterday!IMG_7435IMG_7451 Ah well, some things are just unpredictable!

Rusting Metal?

Are these made out of metal?
Nope.
I have been developing my acetate work, making my work more about the rust again.
I wasn’t able to make my sculptures out of the actual metal very easily so I’ve been using my photos of the rust instead. I have printed the photos onto acetate and then stuck copper tape on the back giving it a gorgeous metallic look.IMG_7157IMG_7153IMG_7200IMG_7206IMG_7203