Took my time about this but here’s a few more students’ work from the exhibition:
Game Designer – Sunny Pang

 Computer Animator – William Nicholas
 Graphics Designer – Kasia Lodyga

 Graphics Designer – Elliott Hawkins
Took my time about this but here’s a few more students’ work from the exhibition:
Game Designer – Sunny Pang
Computer Animator – William NicholasGraphics Designer – Kasia LodygaGraphics Designer – Elliott Hawkins
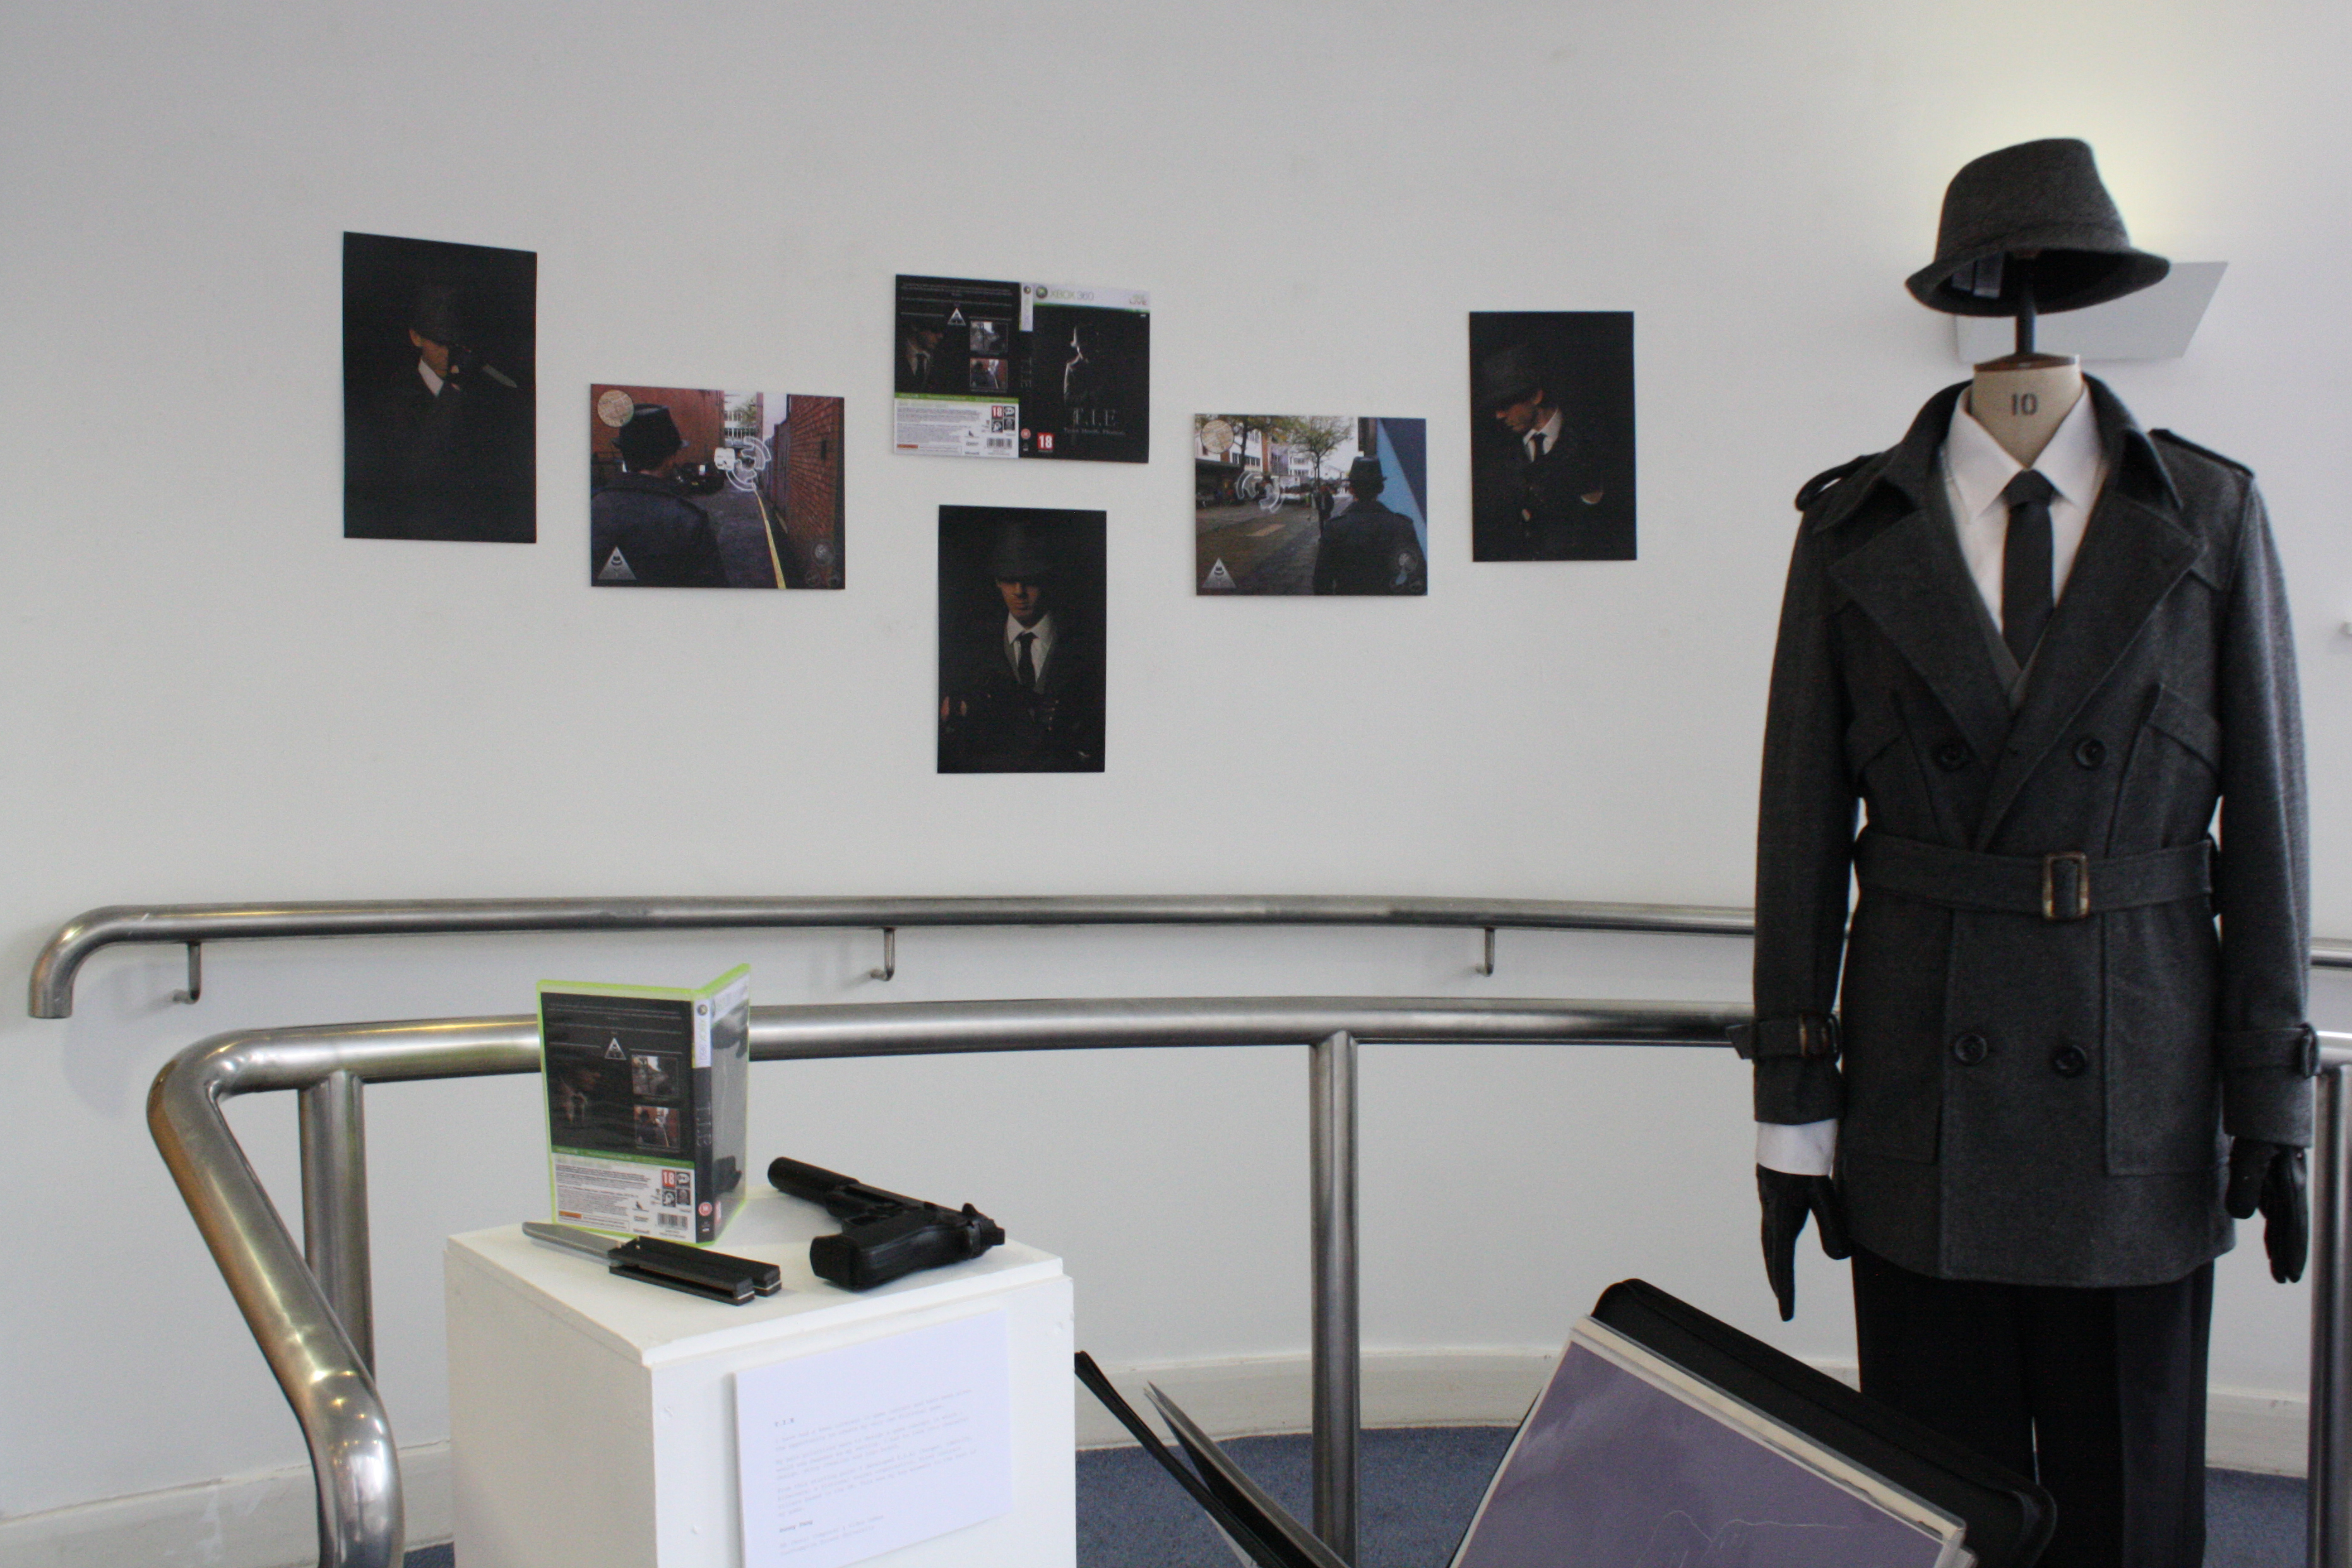
Of course it wasn’t just my work at the exhibition. The Foundation course has students who do all kinds of art: painting, illustration, photography, textiles, sculpture, graphics…. the list goes on.
Here are some photos of the exhibited work of just a few of the artists:
Fine Artist – Georgina McCann Photographer – Caitlin Walters
 Illustrator – Bethan Langston
 Illustrator – Lauren Shill

 Over the next few days I will be posting photos of the exhibited work of the rest of the students on this course. Keep watching because it really is great!
Last night, the private view of the exhibition, went great! The turn out was really good and everyone’s work looked fantastic!
I’m so pleased with mine, this is my display: And here are some of the photos of my final jewellery pieces:


 I even went to the exhibition wearing this piece!
 (Model: Sarah Jenkins and Studio Assistant and Supporting Photographer: Andrew James Rees)
I am relieved to tell you my exhibition display is up!
Today has been a busy day but the exhibition is pretty much ready so it was totally worth it. Everyone’s work looked fantastic!
I am also pleased to say that a photo of my petri dishes, from a previous project, was chosen to be used in one of the posters for the exhibition. These are the other posters, with images of other students work.

 The exhibition is at the Grand Theatre in Swansea and will be open for anyone to see from tomorrow until Monday. The Private view is on Thursday at 6:30. Feel free to come and see the work.
The rest of my crystal resin pieces finally set! Too late to be made into jewellery and photographed on the model but not too late for the exhibition!

 These are sections of my edited images of the rust and Port Talbot Steel Works printed on acetate and preserved in clear crystal resin:


As I was already worried about how my resin pieces were going to turn out and I was having to wait for them to set I decided to do some more work with acetate.
I’m very glad I did now!
 These pieces are made from more acetate that I printed my coloured photos of the rusty metal onto. This time though I used aluminium tape on the back. The aluminium tape is nowhere near as nice or as strong, by itself, as the copper tape but it worked very well on the back of the acetate, especially against the blue.
  My idea for these pieces came from discovering Stephanie Hopkins‘ work. Beautiful!
 I did try this idea with the rusty metal itself but it was simply too tough and didn’t work.
 I have now made these pieces and more acetate creations into jewellery which you will be able to see once the exhibition goes up. I’m not going to spoil the surprise!
I have actually already photographed some of my final pieces for this project but I’m trying to get this blog up to date. I have been soooo busy! I’ve been making jewellery, researching, planning and house hunting whilst still trying to have a social life!
So, to bring you a bit more up to date with my project I have been doing a lot of work with clear crystal resin.
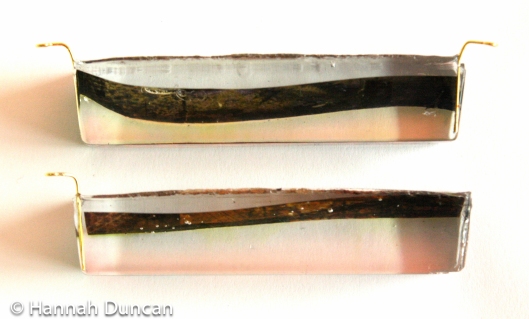
These first pieces are actually test pieces I made in wax glass with pieces of the rusty metal set inside.
 It’s not as clear or as pretty as crystal resin and it’s not very strong but it still worked very well and was great to photograph.

 This was a great way to do test pieces because it is so much faster! Crystal resin “can take up to 7 days to cure”.
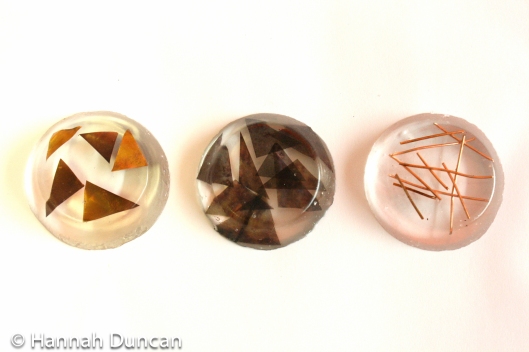
These are the first pieces I made with the crystal resin. I am really pleased with them and I have made them into brooches and pendants. 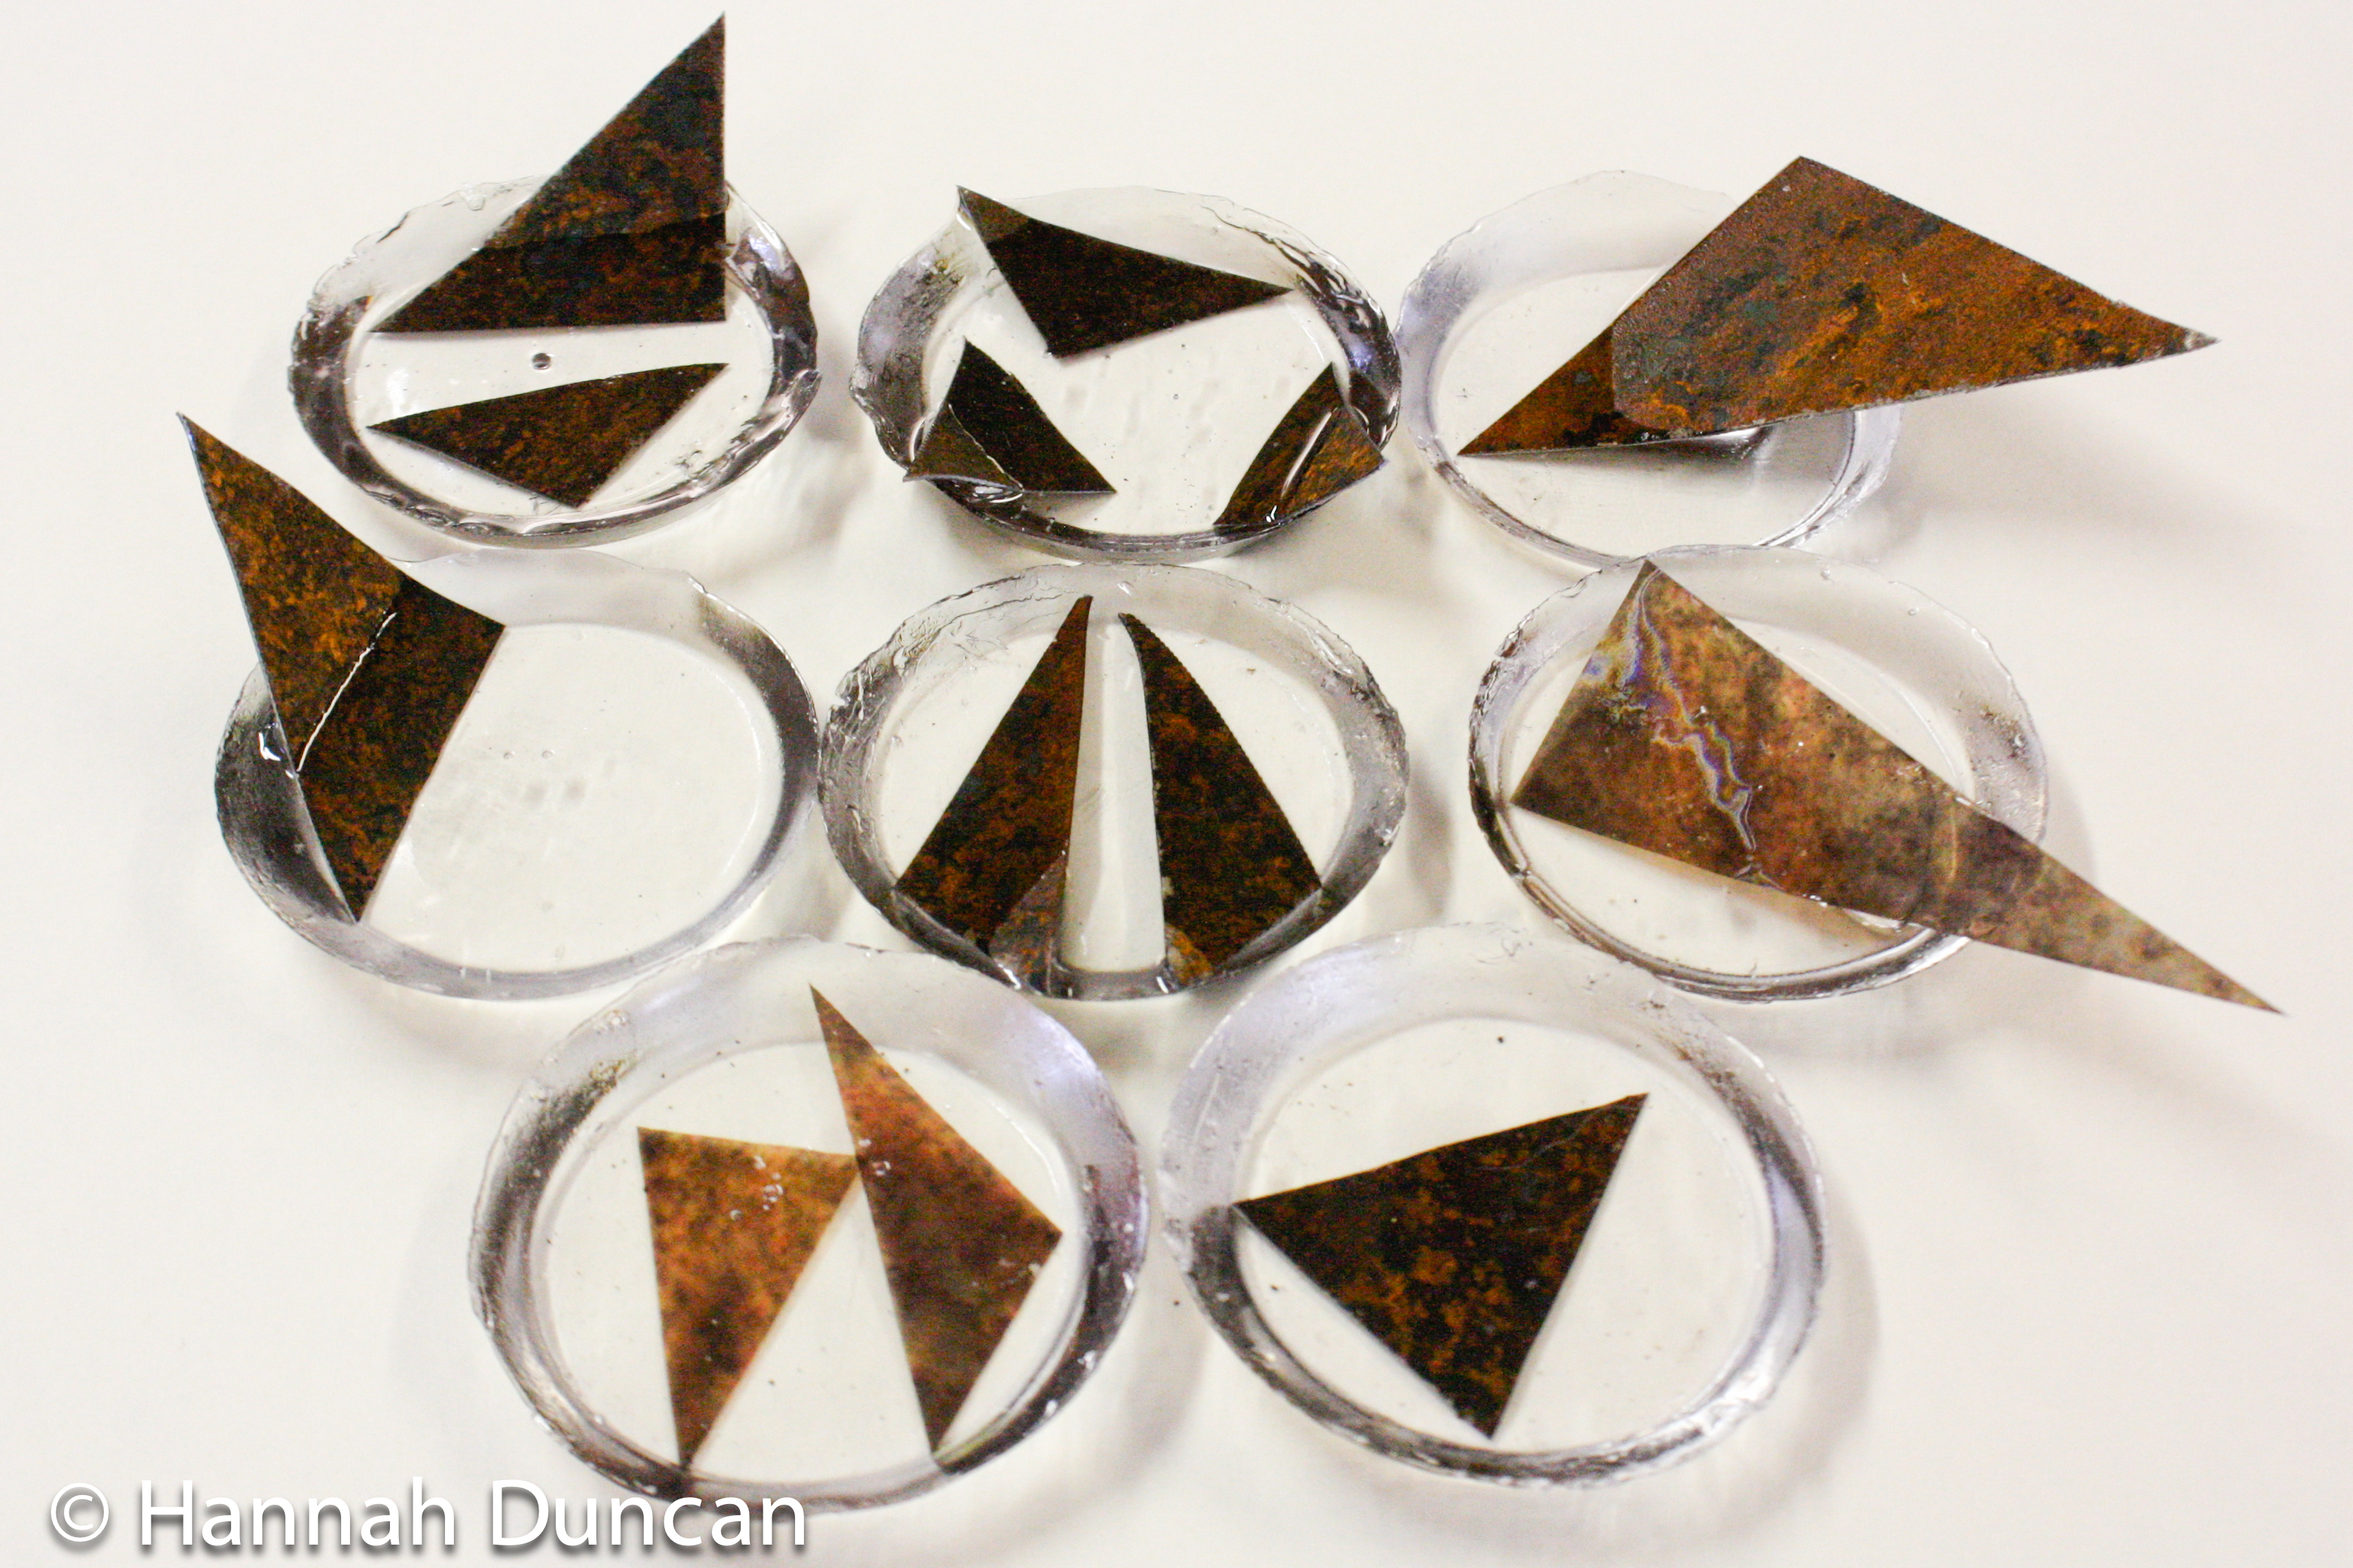
 This encouraged me to make more…
…And that’s where my problems began.
My first mistake was buying Sili-put, (Silicone putty) to make moulds so my resin pieces could be in more interesting shapes.
(If you ever want to make a mould out of silicone putty, trust me on this, buy Gedeo Siligum NOT Sili-put! It is just nowhere near as good!)
My second mistake was believing my lecturer when she told me that the crystal resin would take up to 7 days to cure.
I am still waiting for these to set properly and they were supposed to be ready for the photo shoot of my jewellery yesterday!
 Ah well, some things are just unpredictable!
Are these made out of metal?
Nope.
I have been developing my acetate work, making my work more about the rust again.
I wasn’t able to make my sculptures out of the actual metal very easily so I’ve been using my photos of the rust instead. I have printed the photos onto acetate and then stuck copper tape on the back giving it a gorgeous metallic look.


Although I am now working with rusty metal I wanted to put up some ideas I have developed from my pylon work. I had this idea of using acetate to create one of my little sculptures. I printed one of my photos of the pylons onto the acetate and cut and folded it into shape. This is really nice because the acetate is see through so all the lines overlap just like the intersecting lines of the pylons themselves. This also mean that when you shine light through the acetate it creates some very beautiful shadows.
 I have now finally decided that I am definitely going to make jewellery for my final exhibited work so here is an illustration of how I could possibly make a neck piece based on pylons.
 I then made another 3D piece to experiment with how it could be worn.


 I also made a simple necklace. I like it but I do think it would be more interesting in 3D form or possibly with layers and layers of shapes.
Last week I created a few digital images combining my photos of the rusty metal with my photos of Port Talbot steel works.

To see more of my digital images go to:
http://hduncanphotography.wordpress.com/2013/05/12/rusty-industry
I wanted then to develop these ideas and hopefully apply an image to the metal so I made a stencil to print with.
I then started by printing my stencil onto my photos of rust.

 And finally I had a go at painting the stencil onto some of the rust itself.